QuickieDox is a purely vanilla PHP project that allows you to quickly create elegant documentation from markdown files and works with PHP >= 7.4. Not being tied to any framework makes QuickieDox as lightweight as possible.
To use QuickieDox you must already know how to write markdown syntax and also have some very basic knowledge of PHP. This guide can help refresh your markdown knowledge.
QuickieDox is ideal for projects with documentation needs. This may necessarily not be a technical project. QuickieDox gives you a headstart with an already beautifully designed documentation website that only requires your markdown files for it to work.
QuickieDox is not provided as software as a service and does not host your documentation. You will need to host everything yourself just like you would host any of your websites.
To create your own documentation website, simply clone the repo and begin your customization. You can clone QuickieDox using one of these two methods.
The easiest is to create a QuickieDox project using composer by running the command below.
# replace your-project-name with the name of the directory you want created
# or the name of your project (directory will be created if it does not exist)
composer create-project mkocansey/quickiedox your-project-name
# create a directory where you want to clone quickiedox
# cd into that directory and run
git clone https://github.com/mkocansey/quickiedox.git
# create a directory where you want to clone quickiedox
# cd into that directory and run
git clone git@github.com:mkocansey/quickiedox.git
You will find a .env-example file at the root of the project you just cloned. Rename .env-example to .env. The app will not run if this is not done.
Run the app to ensure you can see the documentation that ships by default. From the root of the directory you just cloned, run:
composer install
Let's start an inbuilt PHP server to quickly test what you just cloned.
# this assumes port 8000 is not in use by another site or app
php -S localhost:8000
After running the above command you should see output similar to what is below. The version of PHP will reflect what you have installed on your machine.
[Thu Mar 9 00:11:36 2023] PHP 8.2.3 Development Server (http://localhost:8000) started
Navigating to http://localhost:8000 should display the screen below.
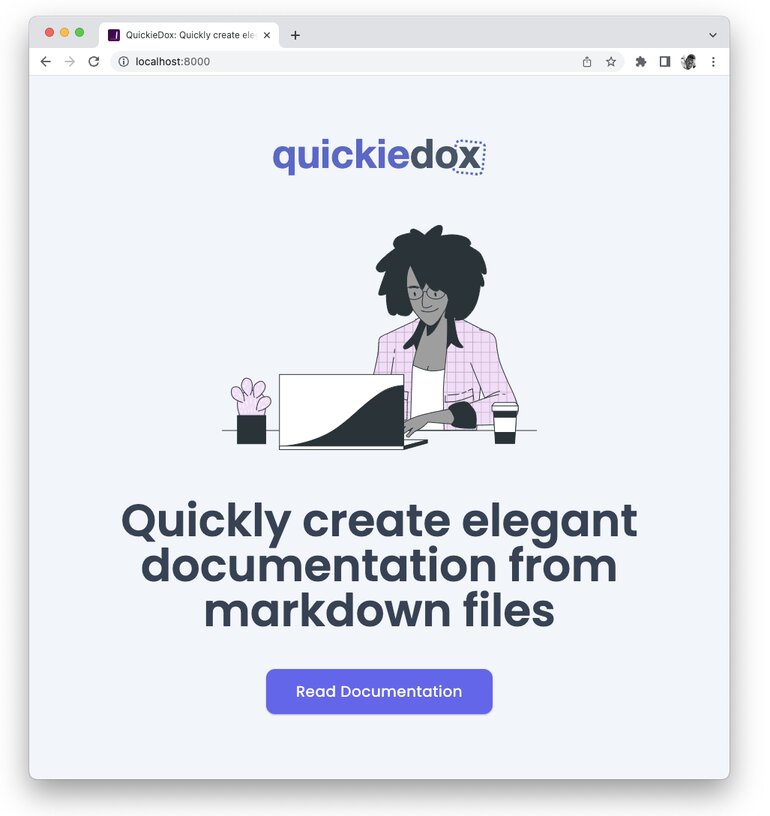
Clicking on Read Documentation from the home page as shown in the image above should display the screen below.
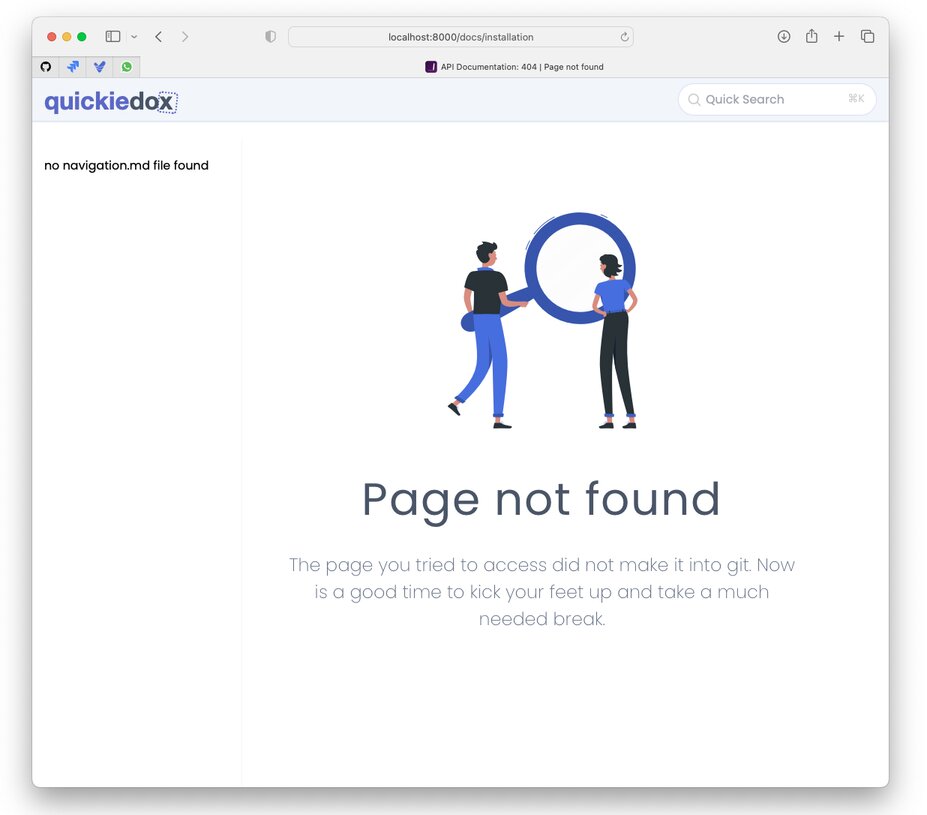
You can tell from the above image that QuickieDox is unable to load the documentation navigation or the default documentation page. This is very much expected since we have not pulled in the markdown files that make up the documentation. After all that is the whole essence of QuickieDox. To generate documentation from markdown files.
By default QuickieDox expects the markdown files to be in a markdown directory at the root of the project. You can use any directory name of your choice but just make sure you update the config file to tell QuickieDox where to look for your .md files.
The directory to clone the .md files into is not included by default. QuickieDox tries to create this directory when cloning the .md files and will require the appropriate permissions. If QuickieDox is unable to create the dorectory you will need to manually create the directory, change either the owner or group to the user PHP runs as. On most linux systems this is www-data. Lastly you this this directory owner or group write permissions.
As mentioned earlier, the markdown files that make up the documentation are expected to sit in a directory you specify. The default is markdown. The convention here is that your markdown files are hosted in their own git repo. There are two ways to pull in the markdown files.
It is much easier to pull in your markdown files using the cloning URL that is built into QuickieDox. Assuming you are still running the app from the server we started above using php -S localhost:8000, you will need to visit the URL below.
Ensure you have modified the QuickieDox configurations before pulling in your markdown files. The URL will ask for the PIN defined for GIT_CLONE_PIN in the .env file. You won't be able to use this URL if your PIN is blank.
Cloning via HTTP will work well if you are cloning from public repositories. If you are cloning your documentation from a private repository, using the clone.sh file is a better option.
Included at the root of the project is a clone.sh shell script that pulls in your markdown files from the repo you specify. You will need to edit the file to change the default values defined for GIT_REPO_URL, DOCS_DIRECTORY and DOC_VERSIONS .
# clone.sh

#!/bin/bash

# update this to your own documentation repo url
GIT_REPO_URL="https://github.com/mkocansey/quickiedox-mds.git"

# update this to the directory you prefer to clone your docs into
DOCS_DIRECTORY="markdown"

# note the versions are not strings
# each version needs to be defined on its own line without quotes
DOC_VERSIONS=(
  main
  #master
  #2.x
  #1.x
)
Ensure the script has permissions to execute for owner and/or group. Run.
ls -l clone.sh

# you should get an output similar to the line below

-rwxr-xr--@  1 your-username  your-group  1026 Mar 20 11:14 clone.sh
Now run this command to execute the shell script to pull in the documentation.
./clone.sh
QuickieDox only needs .md files in the markdown directory or the directory you specified in DOCS_DIRECTORY. You can simple copy and paste your .md files into this directory and voila! If your documentation is in versions, you will need to have a separate directory for every version. For example, if your documentation has version 1.5 and 2.2, you will need to create 1.5 and 2.2 directories in the markdown directory. You will then need to copy the appropriate .md files into their respective directories.
See the Conventions > Versioning docs for more on versioning.
In This Document